Beer fermenting in a glass carboy
Grain to Glass

The Complete Timeline

Four weeks from shopping to drinking. Here's exactly what happens when.

🗓️ When Will My Beer Be Ready?

Pick your brew date and we'll calculate everything.

Open Timeline Generator

At a Glance

4 Total Weeks
1 Brew Day
2 Fermentation Weeks
2 Conditioning Weeks

Most of this is just waiting. Active work takes about 4-5 hours total.

Week by Week

Prep Week

Week Before Brew Day

Day -7 to -5
Shopping Day

Gather all your ingredients and equipment:

  • Grains (or a pre-made kit)
  • Hops
  • Yeast (store in fridge)
  • Spices for your tincture
  • Vodka for tincture
  • Any equipment you don't have
  • Star San or other sanitizer

Online homebrew shops often have 1-gallon ingredient kits that make this even easier.

Day -5 to -3
Make Your Tincture

The tincture needs time to extract the spice flavors:

  1. Prep spices (break cinnamon, grate nutmeg, crush allspice)
  2. Add to small jar
  3. Pour 4 oz vodka over spices
  4. Seal tightly
  5. Store in cool, dark place
  6. Shake once daily

Minimum 3 days, but 5-7 is better for fuller extraction.

Day -1
Prep for Brew Day
  • Clean all your equipment
  • Take yeast out of fridge (let it warm to room temp)
  • Measure and weigh ingredients if not pre-measured
  • Make sure you have ice for the ice bath
  • Clear your schedule for tomorrow
Week 1

Brew Day & Early Fermentation

Day 0
🍺 BREW DAY!

The main event. About 3-4 hours of active work:

  1. Setup: 15 min — Gather equipment, heat water
  2. Mash: 60 min — Grains steep in hot water
  3. Drain & Sparge: 15 min — Remove grain bag
  4. Boil: 60 min — Add hops, sterilize wort
  5. Chill: 30 min — Cool to yeast-pitching temp
  6. Pitch: 10 min — Transfer to fermenter, add yeast
  7. Cleanup: 20 min — Wash everything
Full Brew Day Guide
Day 1-2
Fermentation Begins

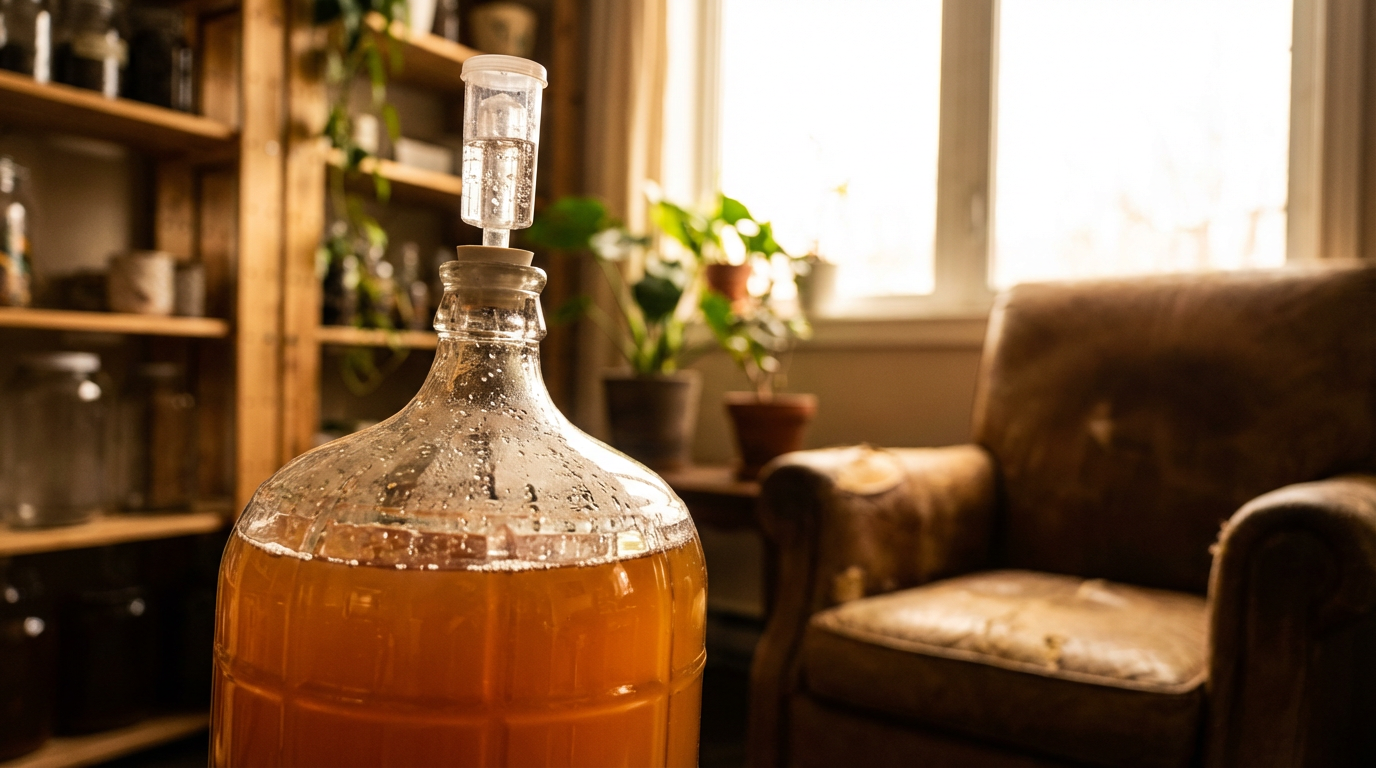
Watch for signs of life:

  • Bubbles in the airlock (usually starts within 24-48 hours)
  • Foam forming on top of the beer (called "krausen")
  • Possible gurgling or hissing sounds

No activity after 48 hours? Don't panic yet. Check your airlock seal. Try gently swirling the fermenter. If nothing by 72 hours, see troubleshooting.

Day 3-7
Active Fermentation

The yeast is working hard:

  • Lots of airlock activity (bubbling every few seconds)
  • Thick foam layer on top
  • Beer looks cloudy and active
  • Might smell a bit funky (sulfur, bread dough) — this is normal

Your job: Leave it alone. Keep it at a stable temperature. Resist the urge to open it.

Week 2

Fermentation Winds Down

Day 8-10
Slowing Down

Fermentation is mostly done, but conditioning continues:

  • Airlock activity slows significantly
  • Krausen (foam) falls back into the beer
  • Beer starts to clear slightly
  • Yeast settles to the bottom

This "conditioning" phase lets the yeast clean up off-flavors. Don't rush it.

Day 12-13
Gravity Check (Optional)

If you want to confirm fermentation is complete:

  1. Sanitize your hydrometer and test jar
  2. Pull a small sample (use a sanitized wine thief or turkey baster)
  3. Take a gravity reading
  4. Wait 2 days, take another reading
  5. If both readings are the same, fermentation is done

Expected Final Gravity: 1.010-1.016

Day 14
🎉 Spicing & Bottling Day!

Another hands-on day (about 1-2 hours):

  1. Strain your tincture through coffee filter
  2. Taste the base beer — pull a 4 oz sample
  3. Add tincture drop by drop until it tastes right
  4. Scale up — calculate how much for the full batch
  5. Add tincture to fermenter and gently stir
  6. Prepare priming sugar — boil in small amount of water
  7. Bottle the beer — siphon into sanitized bottles
  8. Cap the bottles
Spicing Guide
Weeks 3-4

Bottle Conditioning

Day 15-21
Carbonation Builds

The yeast eats the priming sugar and creates CO2:

  • Store bottles at room temperature (65-75°F / 18-24°C)
  • Keep them somewhere dark
  • Don't chill yet — cold yeast won't carbonate
  • You might see slight sediment forming at the bottom

Resist the urge to open one. Patience pays off.

Day 21
Test Bottle (Optional)

Can't wait? Test one bottle:

  1. Chill a single bottle for 24 hours
  2. Open carefully over a sink
  3. Listen for that satisfying "psssht"
  4. Pour gently, leaving sediment behind
  5. Taste and assess carbonation level

Under-carbonated? Give the rest more time. Flat? Check that your bottles are sealing properly.

Day 28+
🍻 DRINKING TIME!

Your beer is ready! Here's how to enjoy it:

  1. Chill: Refrigerate for at least 24 hours
  2. Pour carefully: Leave the sediment in the bottle
  3. Serve around 50°F: Slightly warmer than fridge temp lets flavors shine
  4. Use a proper glass: Tulip, goblet, or pint glass work great

Congratulations! You made beer. Real, actual beer with spices and everything. Share it, gift it, or hoard it for yourself. You've earned it.

Bonus

Beyond Week 4

Does It Get Better With Age?

Holiday ales can improve with some aging:

  • Week 4-6: Good to drink, flavors are fresh and vibrant
  • Week 6-8: Flavors meld together, spices integrate better
  • Month 2-3: Smoother, more balanced, some spice notes may mellow
  • Beyond 3 months: Still fine, but hop character fades, spices may become subtle

Unlike wine, most beers don't improve indefinitely. Drink within 6 months for best quality.

Storage Tips

  • Store in a cool, dark place (basement, closet, fridge)
  • Upright position is fine (sediment at bottom)
  • Avoid temperature swings
  • No direct sunlight (causes skunking)

Plan Your Brew

Got a target date in mind? Our timeline generator works backwards to tell you when to start.

Open Timeline Generator